Our Concrete Coating Process – From Start to Finish
Step 1 - Assessment
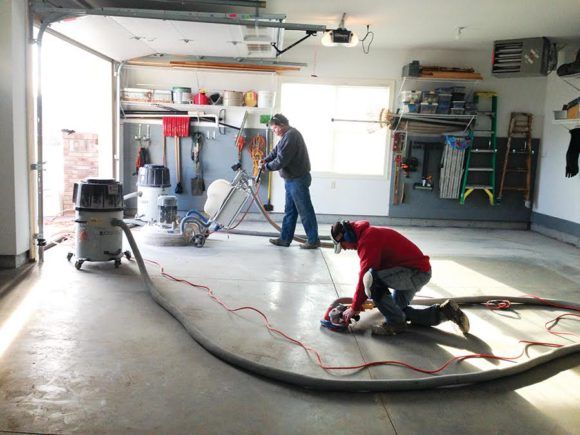
Before installing, our team evaluates the type of concrete you have by analyzing its moisture content, structural condition, and hardness. These factors determine the approach we take for the crucial step of concrete preparation. Ensuring that the surface is properly prepared is crucial for the longevity and durability of the coating.
Frequently Asked Questions About Our Concrete Coating Process
How does your concrete coating process ensure long-lasting results?
Our process begins with assessing moisture, hardness, and structural condition to ensure the concrete is properly prepared. This detailed evaluation creates the foundation needed for maximum adhesion and long-term durability.
Why do you use diamond grinding instead of acid washing during preparation?
Diamond grinding profiles the concrete far more effectively than acid washing, removing weak material and creating a stronger bonding surface. This method significantly extends the lifespan of the coating and improves adhesion performance.
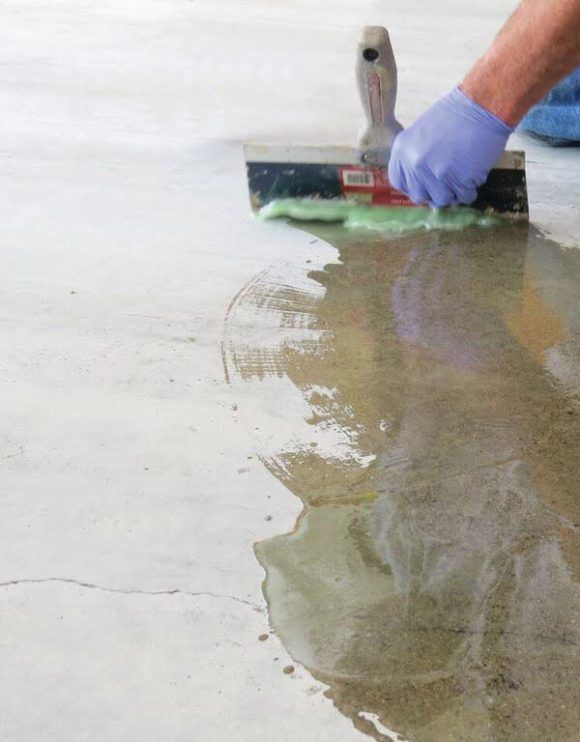
What if my concrete has cracks, pits, or spalling before installation?
We repair all damaged areas by opening cracks with diamond blades and applying a fast-curing mender that becomes harder than concrete. This ensures your surface is structurally sound and ready for a flawless coating application.
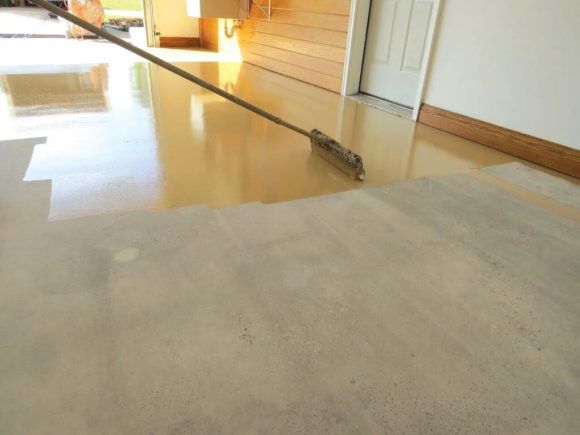
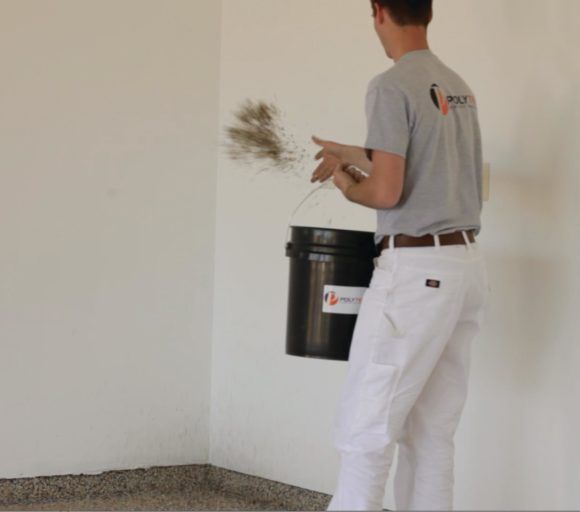
What type of coating system is applied during installation?
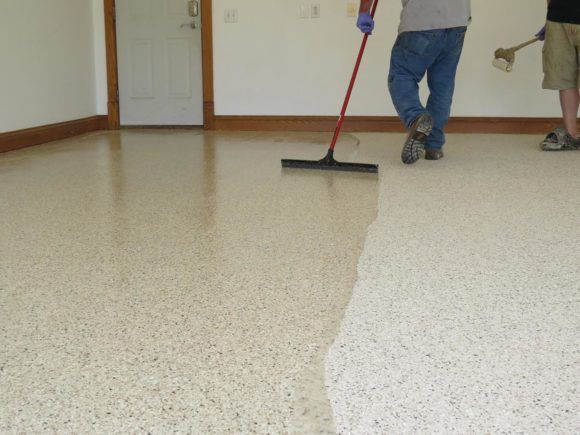
Most garage floors receive a full-chip polyurea coating system, starting with a 100% solids polyurea base coat for superior bonding. This system is known for its durability, UV stability, and attractive finish.
How long before I can walk or park on my newly coated floor?
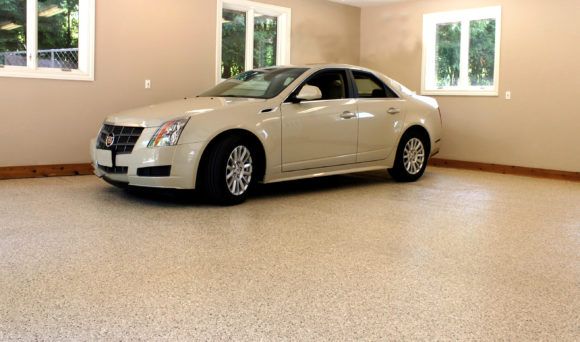
You can typically walk on your new floor four to six hours after the topcoat is applied. Most customers can safely park and drive on the coating after 24 hours, depending on conditions.
Call the experts at Keas Concrete Coatings today for a free estimate
Coating your concrete floor is an excellent way to enhance its appearance and protect it from wear and tear. Our company offers a wide range of coating options that can be tailored to suit your specific needs. We start by evaluating the type of concrete you have, analyzing its moisture content, structural condition, and hardness. This allows us to determine the best approach for preparing the surface. We use diamond grinders to profile the concrete surface and repair any cracks, pits, and spalling. We then apply a polyurea or polyaspartic coating system, which is known for its durability and resistance to UV radiation and chemicals. The final step is to apply a clear coat finish that will provide a glossy, high-end look and long-lasting protection. Upgrading your concrete floor with our coating will not only improve its appearance but also increase its lifespan.
Lifetime Warranty
At Keas Concrete Coatings, we offer top-quality products that improve functionality and safety in any space. We are confident in our offerings and stand behind them with exclusive warranties to safeguard your investment for the long term.
When you choose our services, you'll receive:
- A Limited Lifetime Warranty
Rest easy knowing that your investment is protected with our comprehensive coverage.
